How to Connect Stripe to Kahana: a Quick Overview

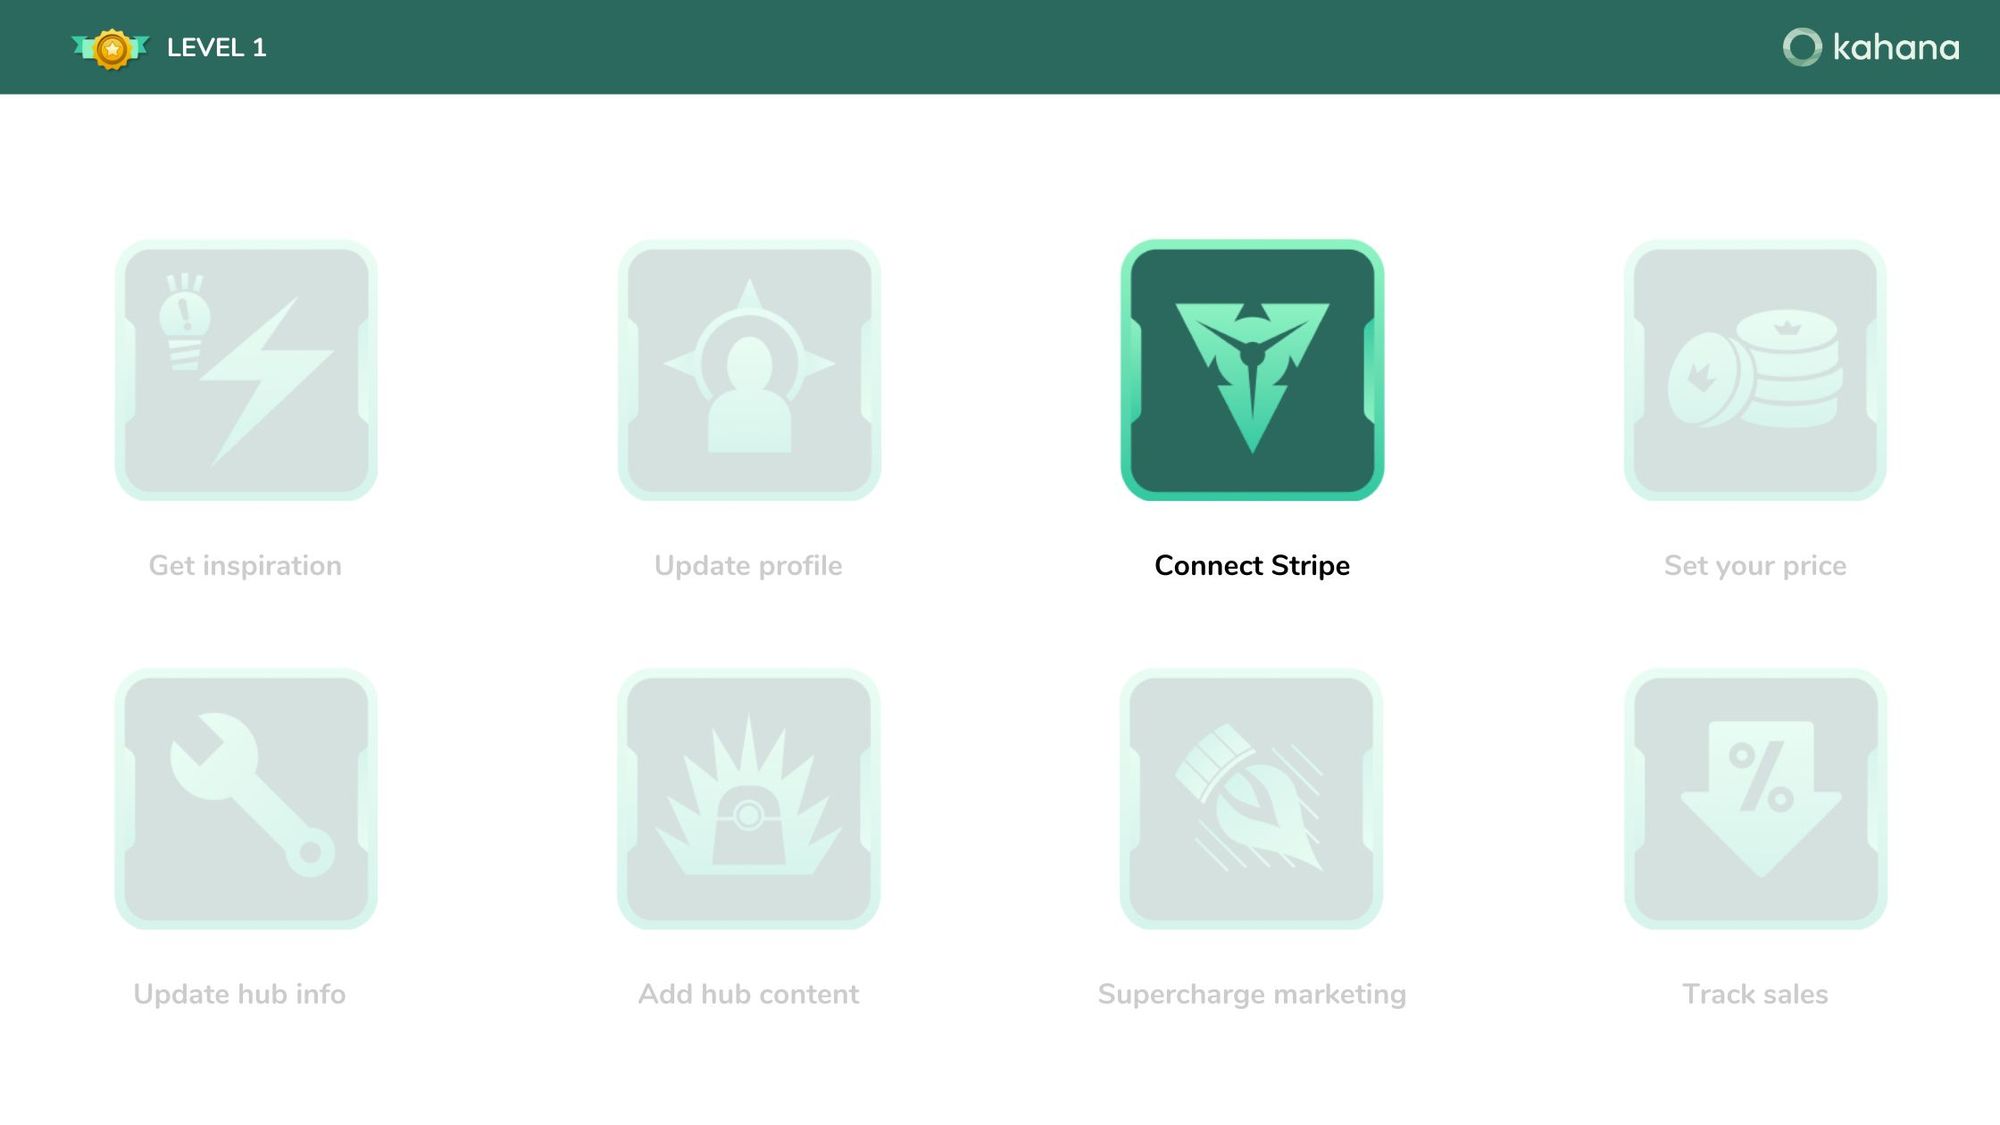
In order to achieve "Level One" in Kahana and start monetizing your hubs, connecting Stripe is a crucial step.
This article will walk you through the process, enabling you to receive payments and payouts for your hub access. Follow these simple steps to ensure a smooth onboarding experience and get ready to embark on your monetization journey.
How to Connect Stripe and Kahana
Step 1: Accessing Monetization Options
- Navigate to your desired hub and click the three dots.
- Select "Monetize Hub" to initiate the process.
Step 2: Enabling Stripe Integration
- Proceed with the onboarding flow by clicking "Proceed."
- Choose to connect an existing Stripe account or create a new one directly from Kahana.
Step 3: Providing Information
- Follow the on-screen prompts, providing your email and necessary verification details.
- Continue adding information as required, ensuring accuracy and completeness.
Step 4: Setting Hub Price
- Once the Stripe integration is complete, you'll be directed to a screen to set a price for your hub.
- Determine a suitable price based on factors like location and hub content.
Congratulations! You have successfully connected Stripe to Kahana, setting the stage for monetizing your hubs and earning income.
Although the specifics of the Stripe verification process may vary, this guide provides a general overview to get you started.
Should you encounter any difficulties or have further questions, our support team is ready to assist you through the Help Center.

Talk with a Kahana representative
Fill out your information and a Kahana team representative will reach out to you. Have a simple question? Search our library of articles